comp
After you have your file setup and design your layout within the parameters of trim, bleed and safety, then what? Well, then it’s time to print it out and make a sample, silly! This sample, also known as a “comp,” or composite, will show you how something such as a brochure would actually fold and really appear once printed. In this example, you would print out both sides of the brochure and then use spray mount to glue the sides together before cutting.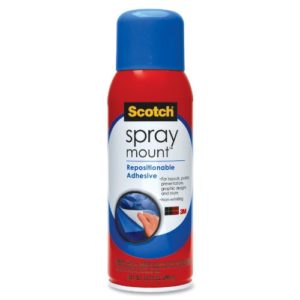 You can buy spray mount here!
Making a comp is really helpful in order to get a feel for how the final finished piece will look, so you can get approval on it BEFORE you release it to the printer for actual printing.
If your comp is smaller than a letter sized (8.5” x 11”) piece of paper, this is pretty easy. But what if you want to print exactly a letter sized piece of paper and avoid the annoying white margin? To do this, you’d need to print to a larger piece of paper such as tabloid (11” x 17”) size and cut it down.
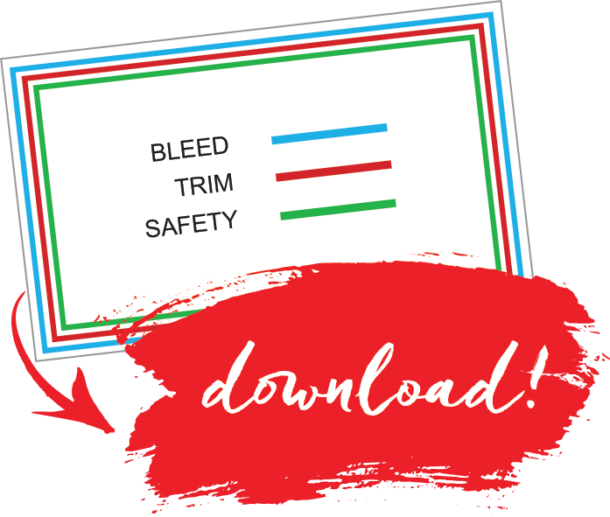
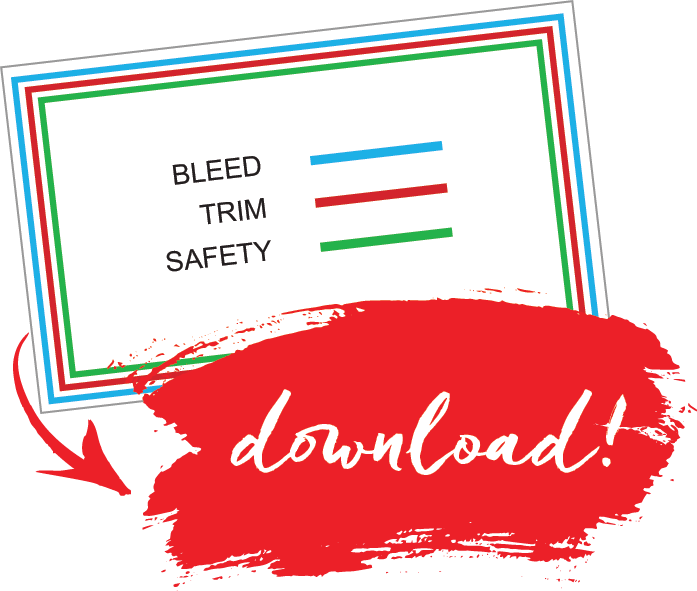
Want a FREE 8.5″ x 11″ PRINTABLE that already has the bleed and safety guides marked in their own layer in Illustrator? Download it here:
But how do you know where to cut? Well, whether your project is smaller or larger than letter sized piece of paper, you’ll need to utilize crop marks.
crop marks 
Crop marks are tiny black lines you can add to your layout to indicate where the trim of the document is so your printer (or you, if you’re making a comp) will know where to cut.
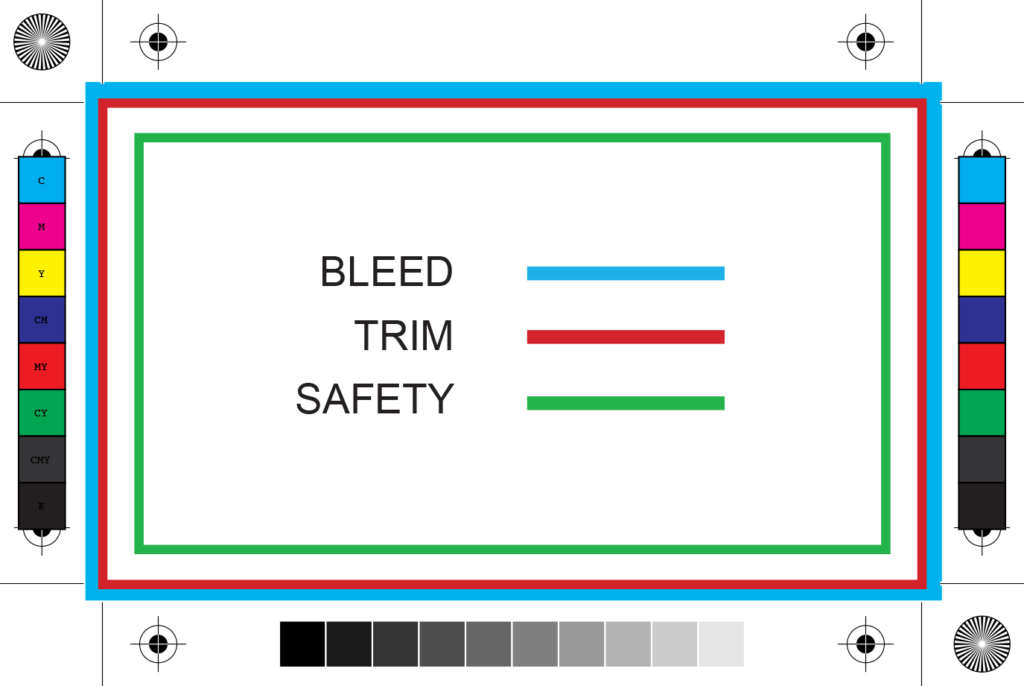
If you’ve ever saved a pdf of your layout and selected a print preset, you may have seen these tiny lines on both the horizontal and vertical edges of your layout. If you placed a ruler on these lines, extending it from the top vertical line down to the bottom vertical line, you take an X-Acto knife and cut along the ruler’s edge, and repeat this on the other vertical side, and both horizontal edges so that ultimately you would have cut out your comp. Or, you can line up the crop marks using just a paper cutter (which may be a safer alternative if you don’t have a steady hand and firm grasp of the ruler when using X-Acto blades!)
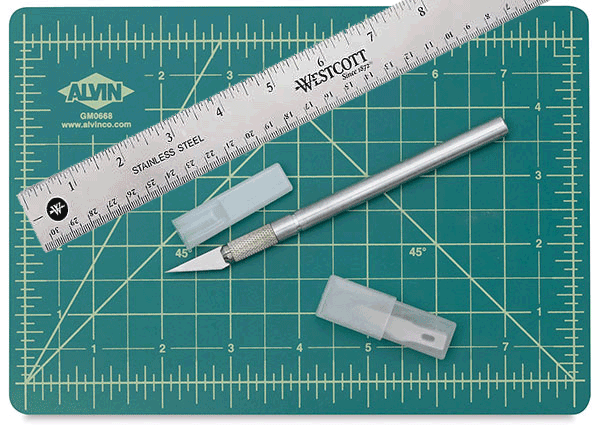 You can buy an X-Acto knife and blades, metal ruler and self-healing mat here!
You don’t have to draw these lines in your file yourself, you simply select them when you save your pdf in your design program of choice (Illustrator, InDesign, etc.)
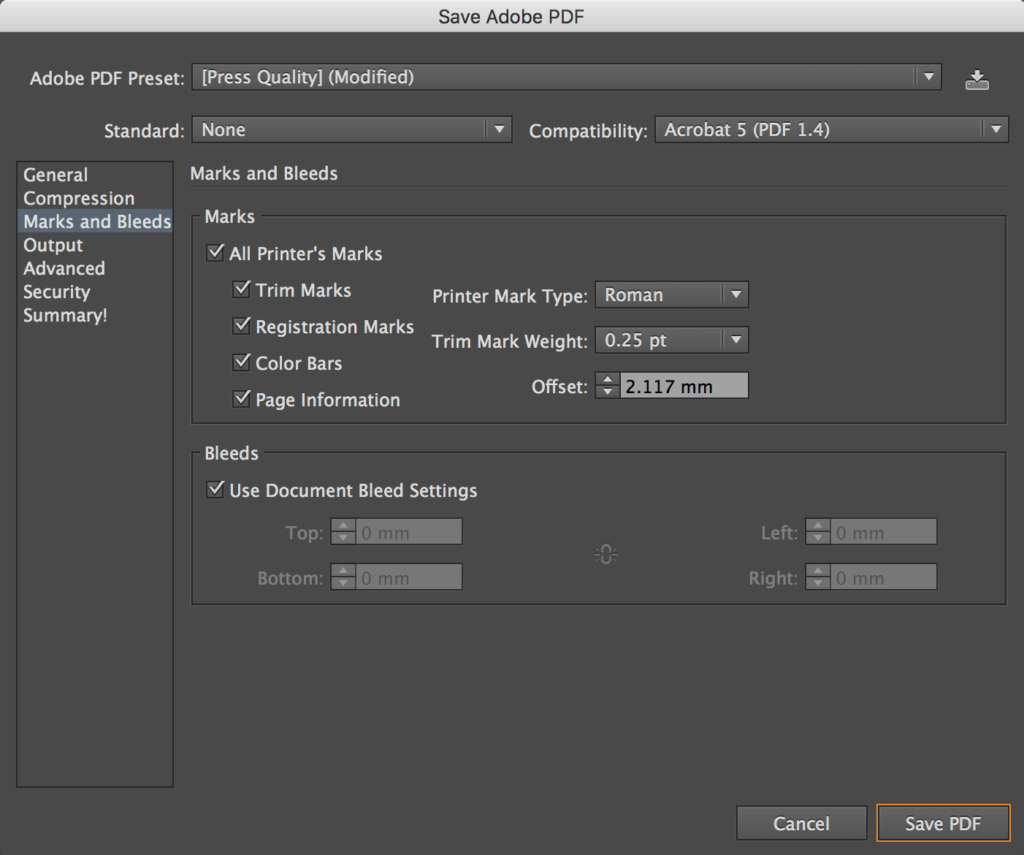
In your pdf dialog box, you’ll also see other option you can select:
registration 
Registration marks print outside the trim area of printing. They can include bullseye targets, crop marks, plate information, etc. These marks allow the printer to accurately align the separate cyan, magenta, yellow and black plates on press and better align where to trim.
If you’ve ever seen cheap tabloid newspapers where the images look blurry, it was because these plates were not in alignment, or registered, on press when printed.
color bars 
You can opt to include color bars in your pdf to your printer. On press, your printer can ensure the color accuracy of your artwork by measuring the values in the color bar with a tool called a spectrophotometer.
document info
You can include your document’s filename, file type and date (including time stamp!) This is helpful for rev control to ensure that the most up-to-date version is being printed.
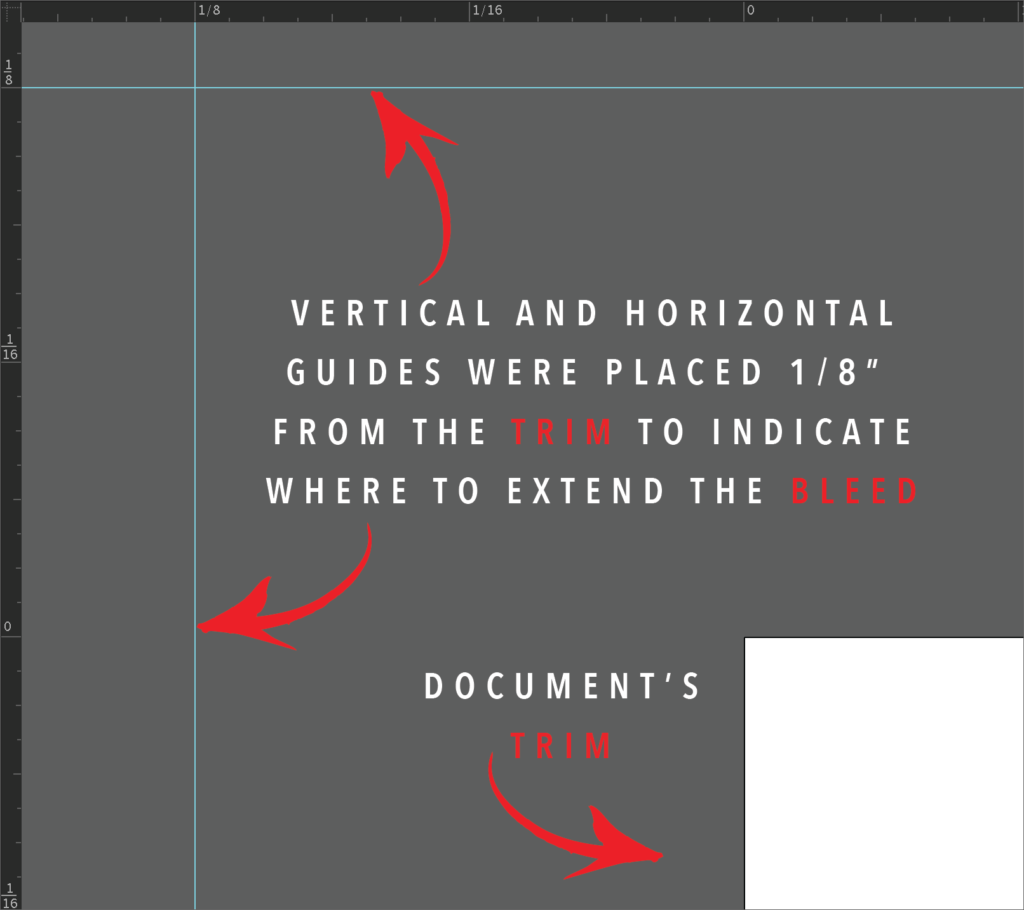
In general, when I provide artwork to a printer, I include my native file (in Illustrator or InDesign for example) where I have the document setup to be the trim size, extended a bleed .25” beyond the trim, and ensured all my copy is well within the safety area by at least .25”. In addition, I also include a pdf with this bleed and ALL of the printer marks listed above.
When I create a pdf that is to be viewed online or printed out on office printers, I create a reference pdf that simply ends at the page’s trim edge and does not include ANY printer marks.
Have any questions? Feel free to ask away in the comments section!






 You can buy an X-Acto

